Kronos 2 "Module" - Teardown and
Rebuild
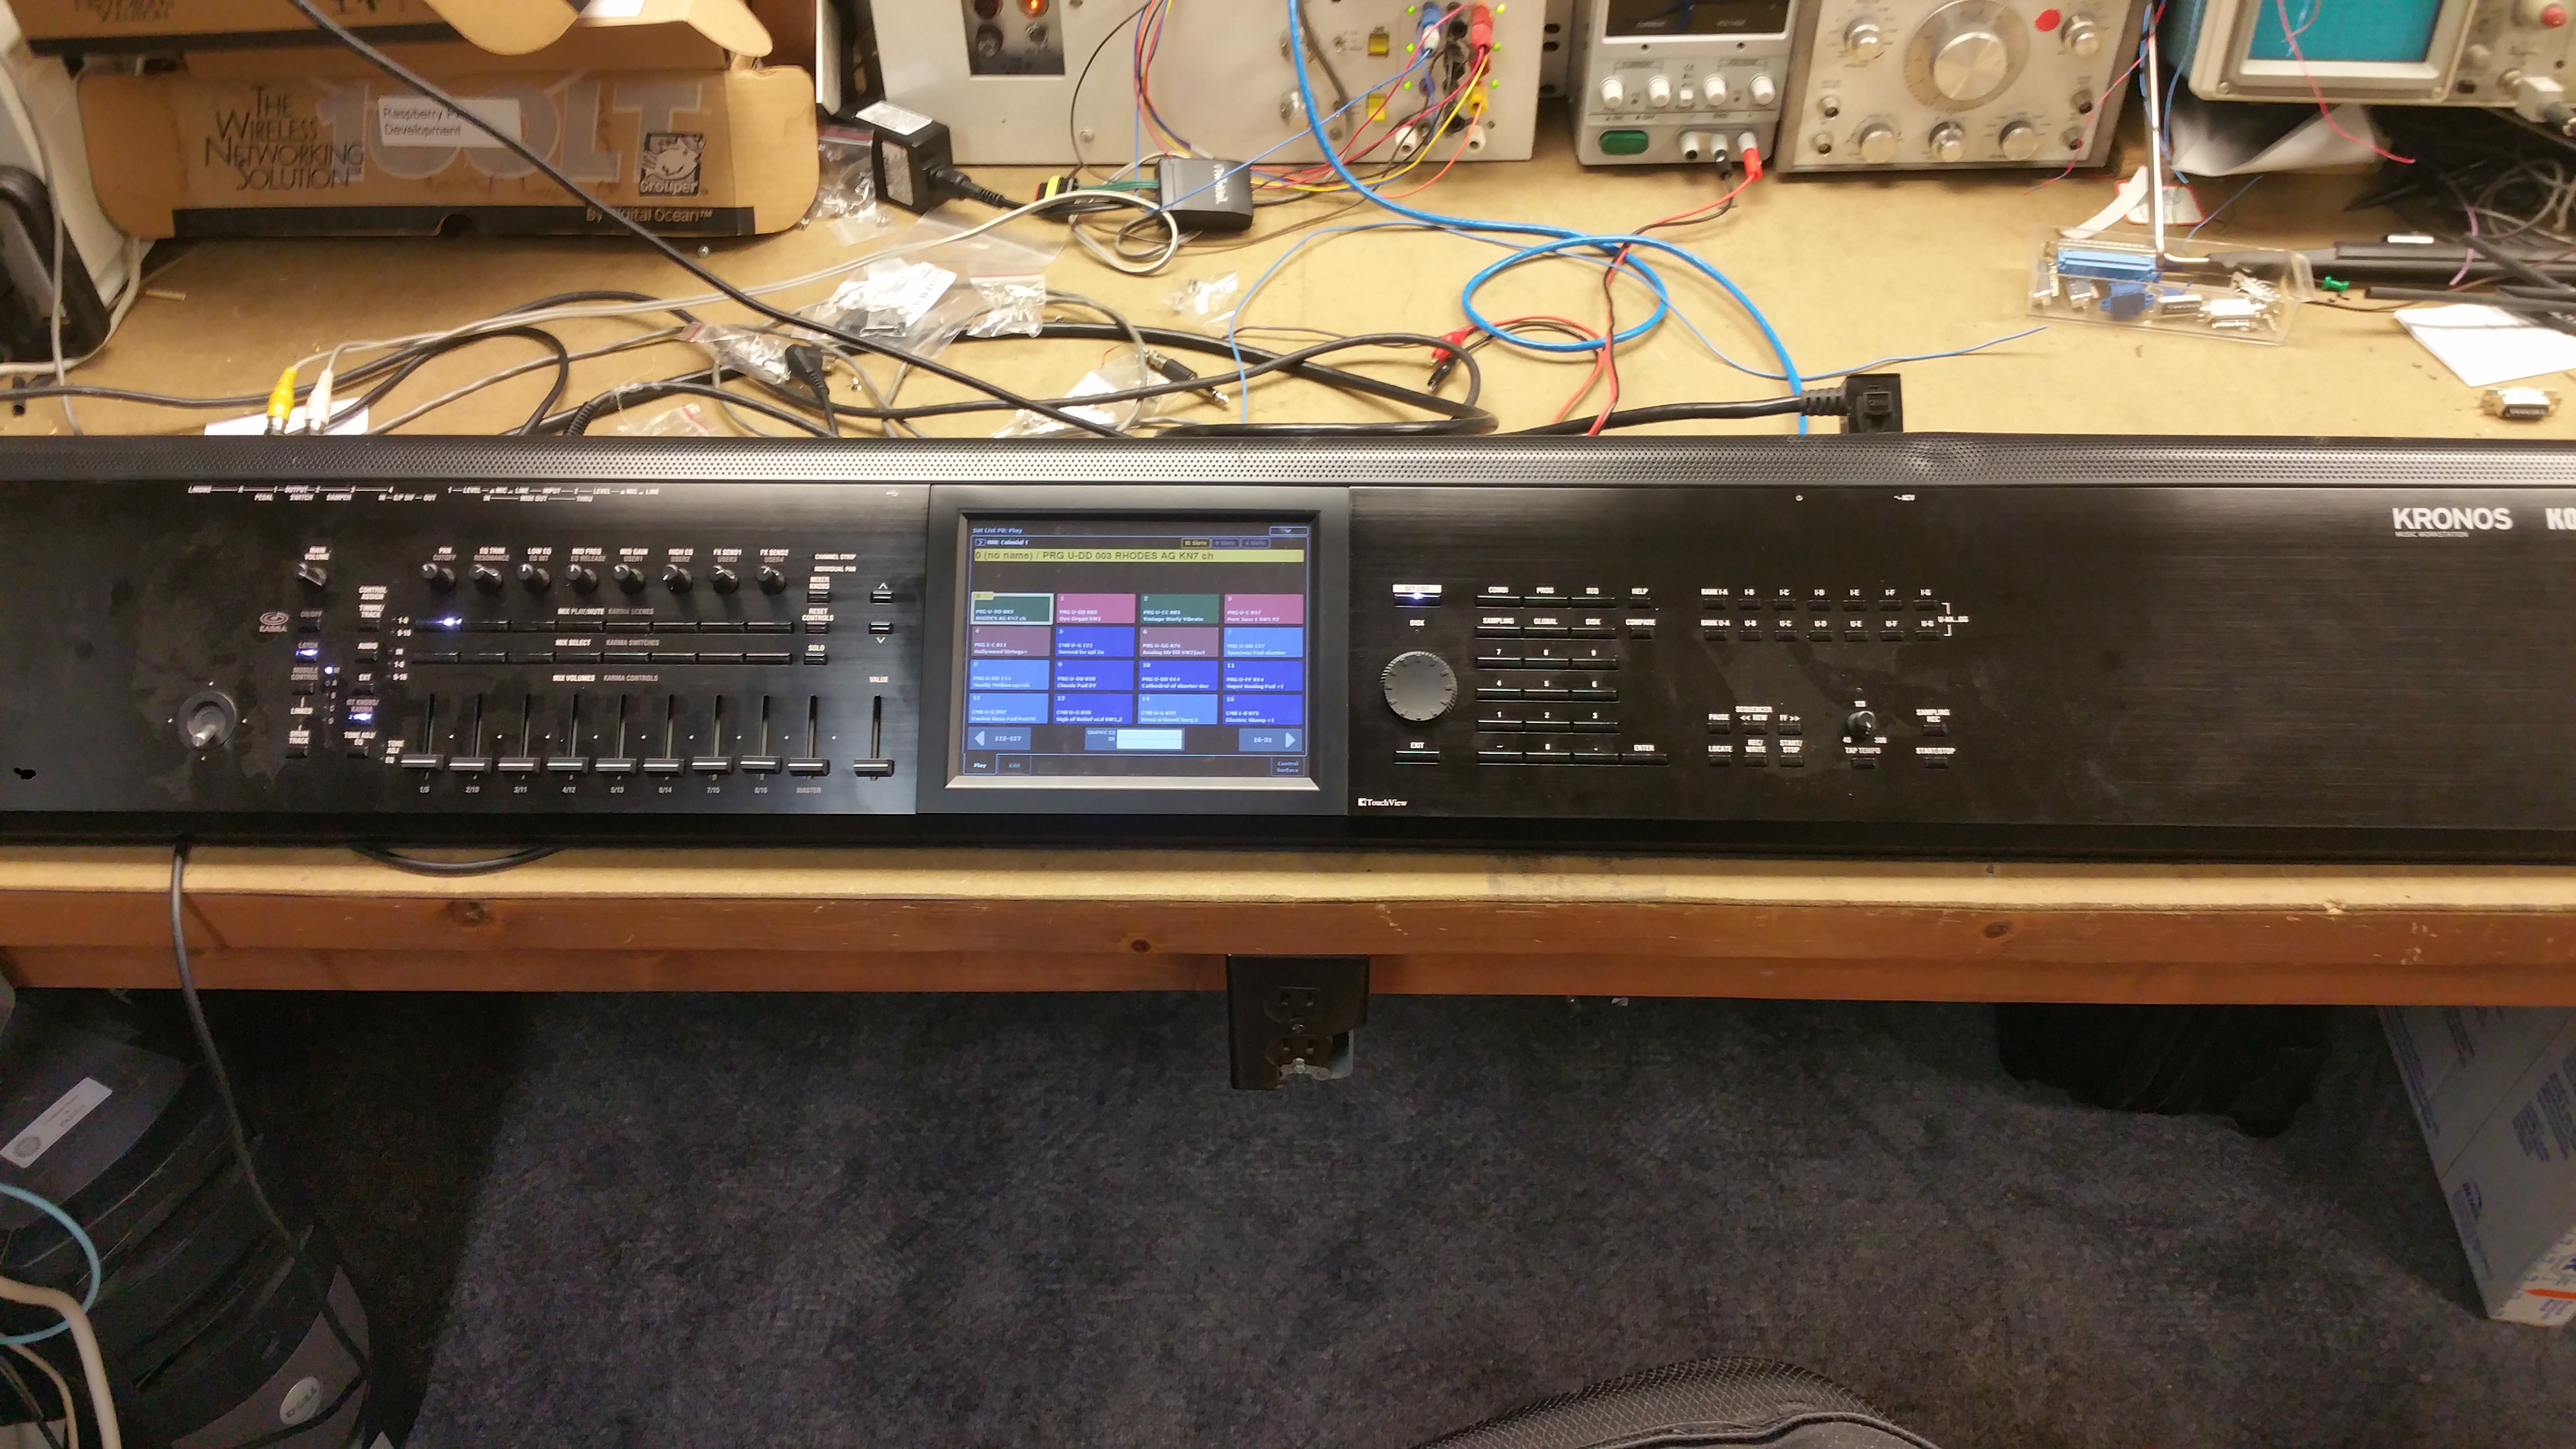
The
project started with a need for a lighter weight Kronos. Due to the
display and control surface, a "Kronos Rack" was not feasible. So
the idea for a "Kronos Module" was formed. Kronos minus keybed.
A
lighter weight Kronos Module plus a separate MIDI controller keyboard,
or if rehearsing some place that already has a non-Kronos keyboard,
just bring the module alone.
Note: This site is best accessed with a fast Internet connection.
Original keybed and Display
Replacment (click images for full resolution)
After Display Repair, before teardown for case modification
Pre-teardown
interior photos (click images for full resolution)
I captured video of the dissassembly process, mostly as a guide to be
sure I could reassemble everything correctly. I wasn't thinking of sharing it at the time, but afterwards I realized that
others could maybe use the photos and video. As the Kronos is getting
mature, more and more of us are having to get inside to maintain their
instruments.
Complete video of disassembly process (large file 97 Gbytes, 3840x2160 resolution, 49 minutes) (no longer hosted due to size limits - ask by email if interested)
Video Segments (Moved to YouTube - originals available on request)
Segment 1 - removal of audio output and USB interface boards (3.7 minutes)
Segment 2 - removal of OMAP board (7.5 minutes)
Segment 3 - removal of first set of cables to CPU motherboard (4 minutes)
Segment 4 - remainder of cables and CPU motherboard removal, power connector and switch on back panel (5.5 minutes)
Segment 5 - removal of power supply and its support panel behind the front panel controls PCBs (8.5 minutes)
Segment 6 - removal of right front panel controls PCB, and display (5.5 minutes)
Segment 7 - removal of left front panel controls PCB (6 minutes)
Segment 8 - separation of front panel (aluminum) from back panel (steel) (5 minutes)
Request at this address

Supplemental photos of teardown process (click images for full
resolution)
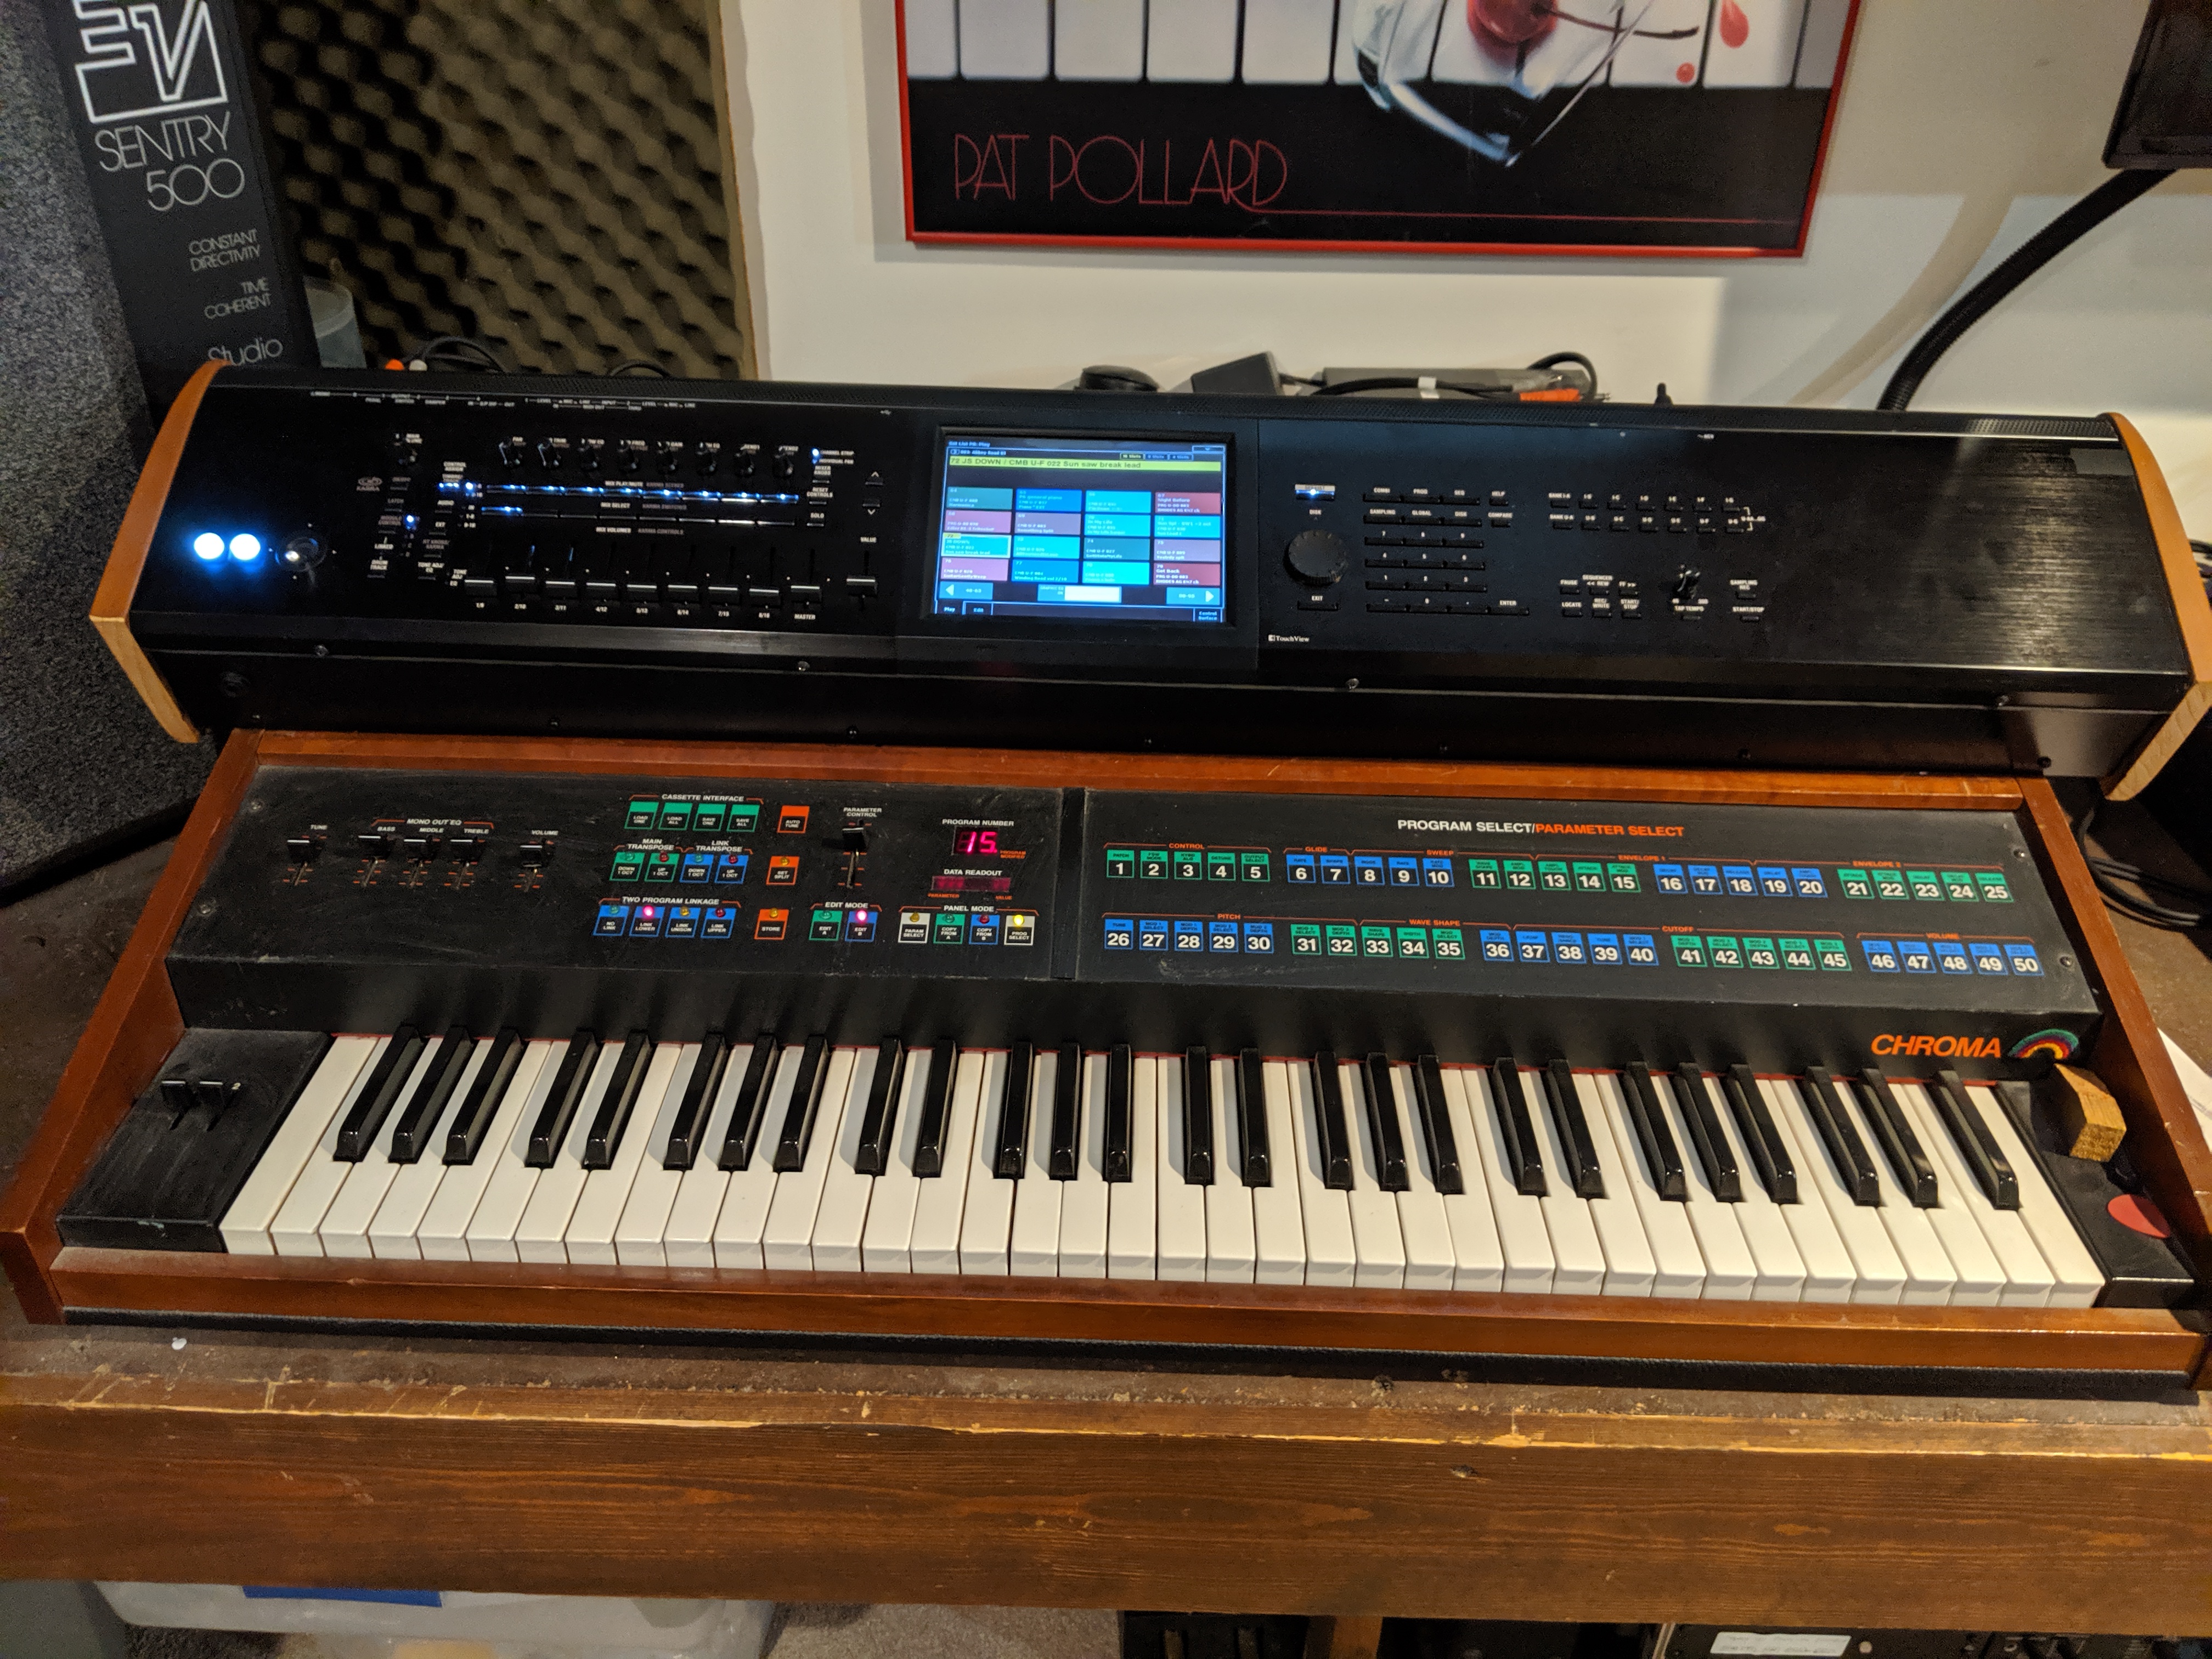
Final Result:
Note: Enclosure for lower Joystick and switch panel is not
completed yet. The switches are needed, but most MIDI controllers
already have a Joystick, so I mounted switches only on the
front panel for now.
I still plan to make a case for the Kronos Switch/Joystick/Ribbon assembly at some point, and have it plug in to the module.
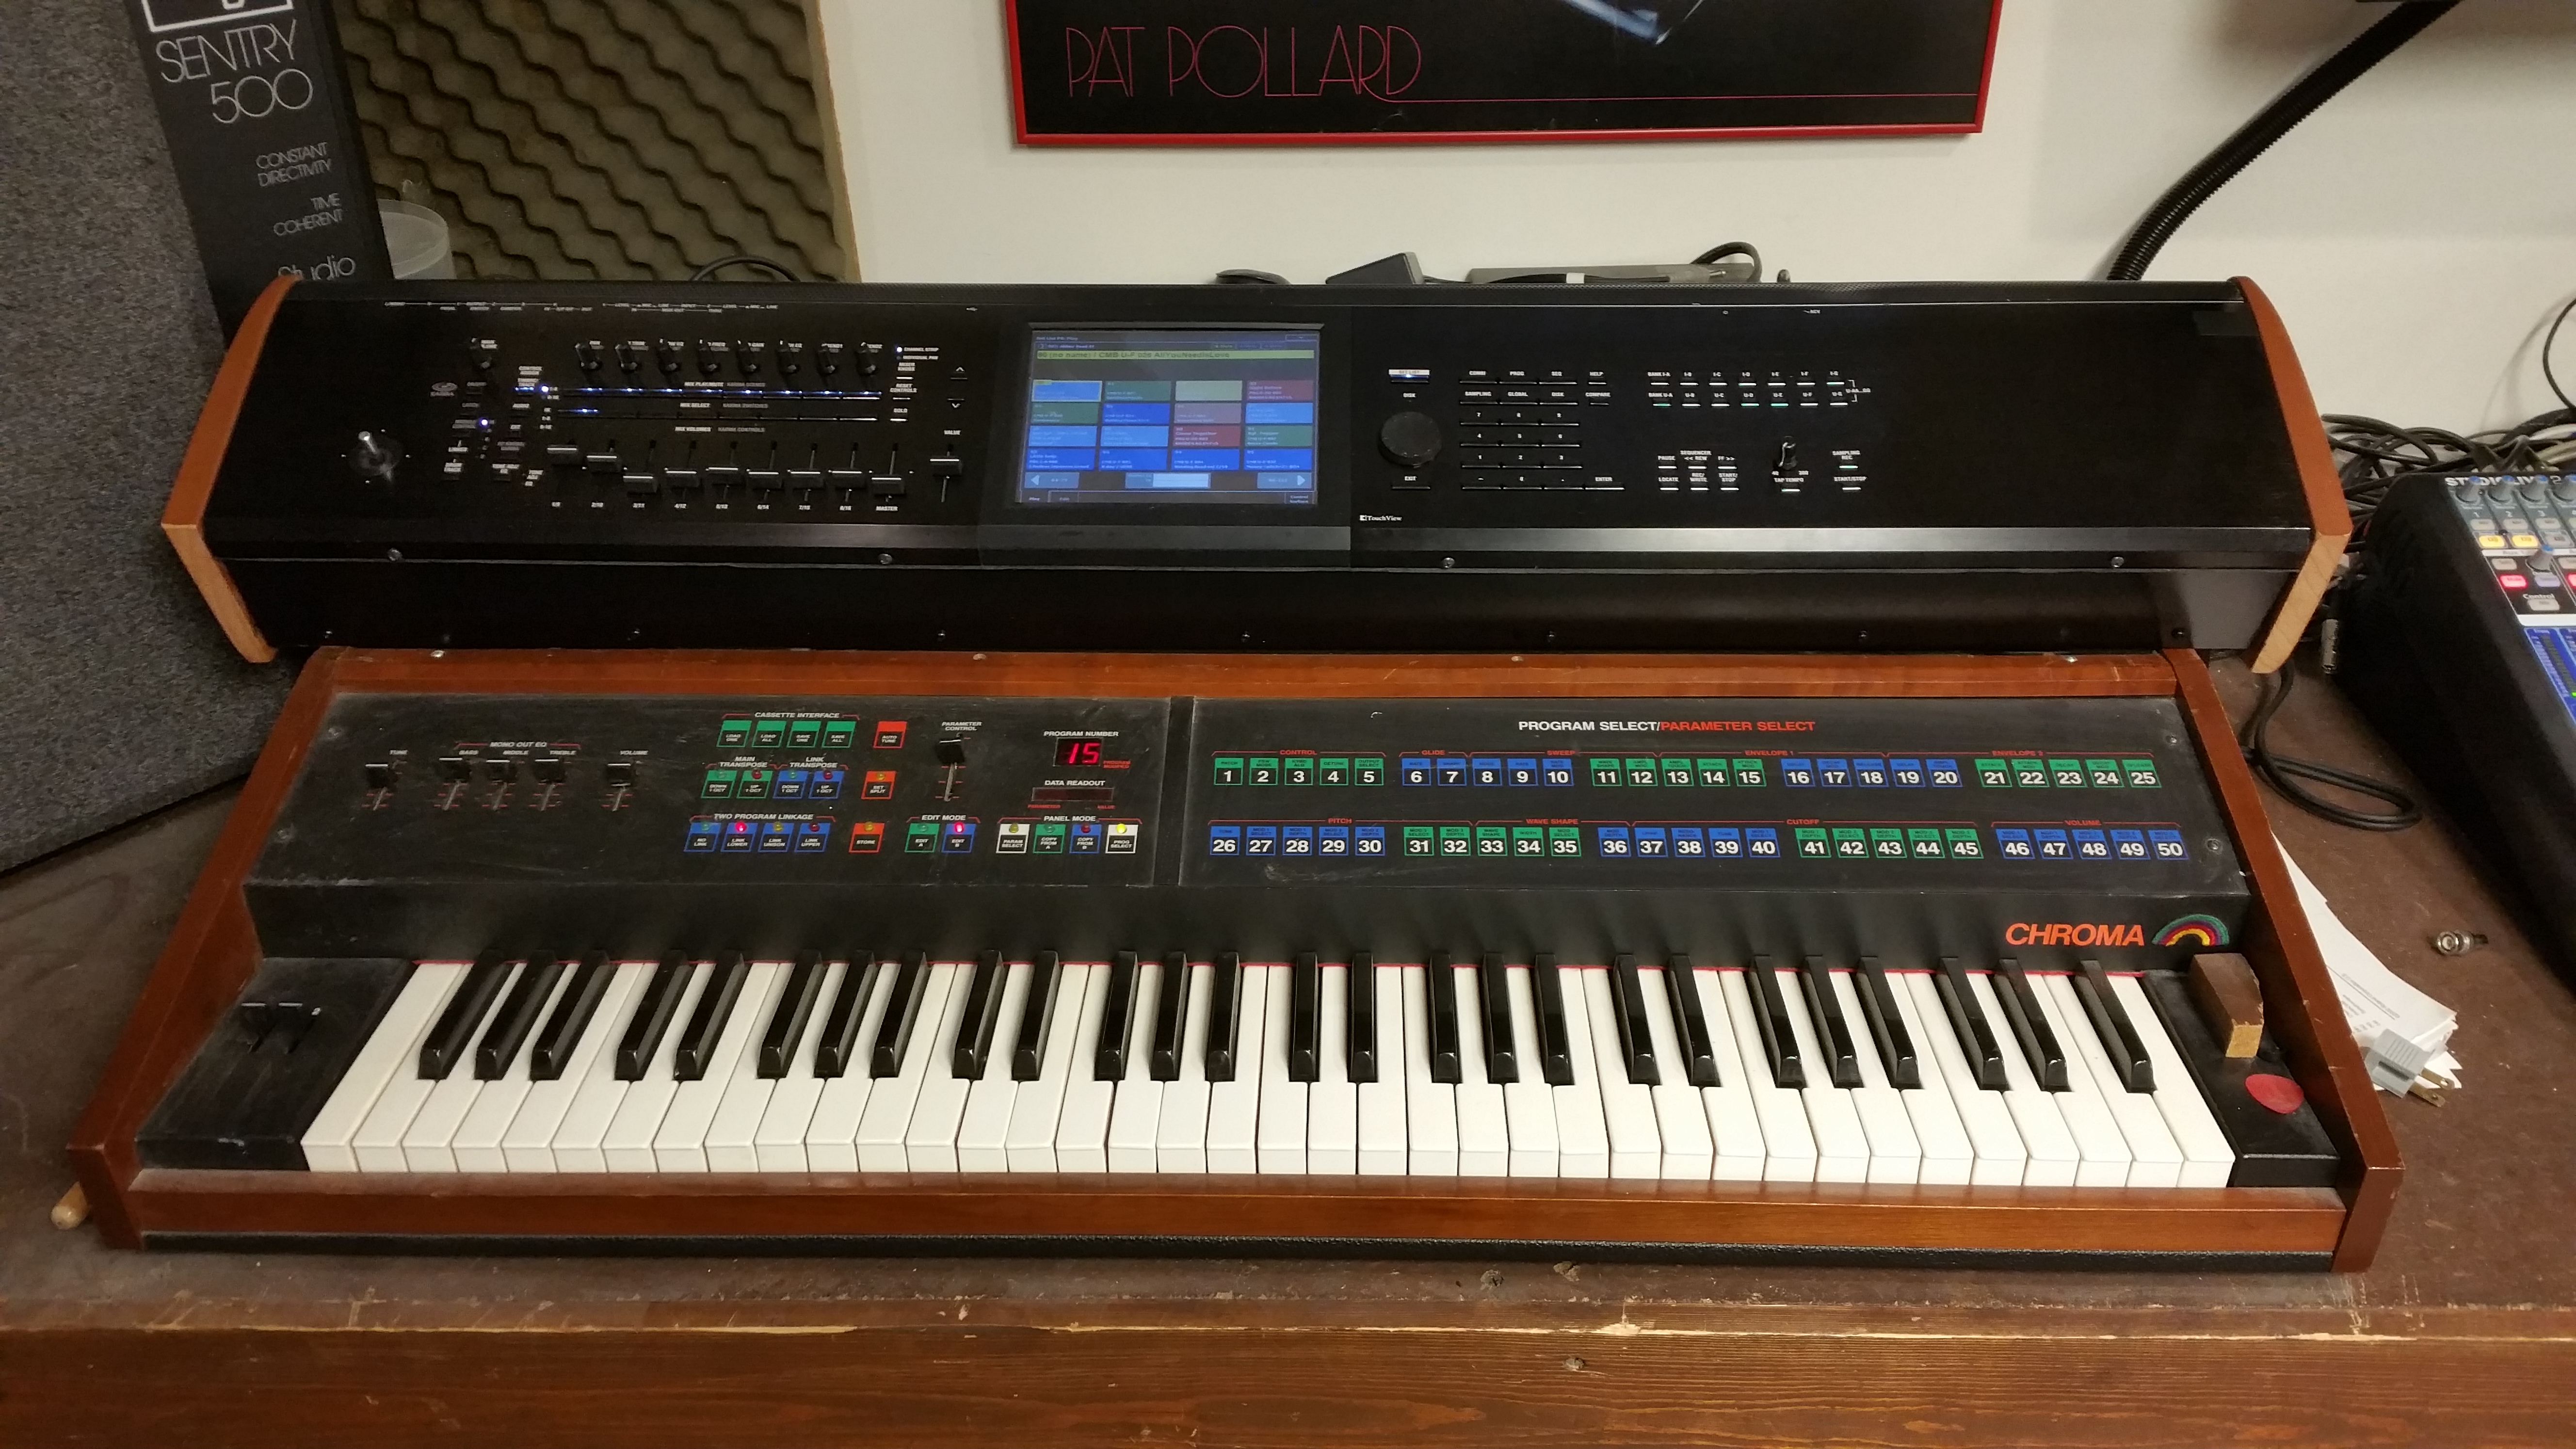
Spanning three decades of synthesizers. Is it a Chronos or a Kroma?
Updated - now showing SW1 and SW2 on panel.
While Korg tries to replicate a piano with the RH keybeds, I'm not
primarily a pianist and I prefer a keyboard that is more
cross-functional, balancing all playing styles from piano to organ to
synth.
IMHO, ARP found the sweet spot back in the 1980s with the Chroma's semi-weighted keyboard.
It is all made of wood, and is geting slightly wavy, but still plays great after 30+ years.
Playing
the sounds of Kronos with the Chroma action is somehow extremely
satisfying. I wish there was a more portable controller with that feel.